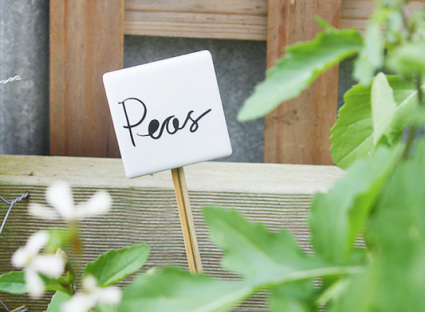
 | From silhouette to veggies?!? Say What?!? I have somehow managed to have another of my famous 'lightbulb' moments and used the silhouette to create veggie/herb markers for my garden. I'm not sure about you, but I've found there is just not a great selection of these out there. Some types have the most common markers only, others are well...just plain ugly. So after getting my little machine I thought I would try my luck at making them myself and I am thrilled with the outcome. So here's the how to's: |
WHAT YOU NEED:
- silhouette machine
- contact paper or contact vinyl
- small tiles
- bamboo skewers
- glue
- silhouette machine
- contact paper or contact vinyl
- small tiles
- bamboo skewers
- glue
THE HOW TO:
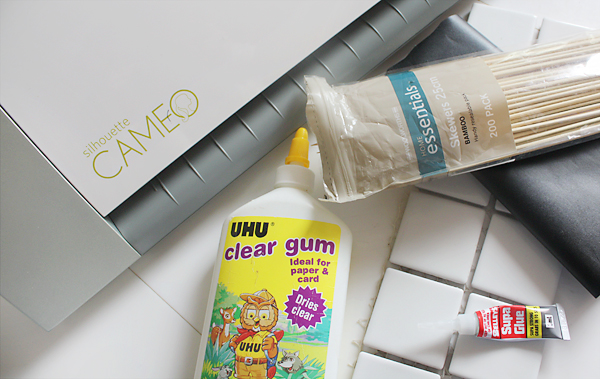
1. get all your products together:
- silhouette machine - bought online - contact paper - from Kmart
- small tiles - small sheet from Bunnings - bamboo skewers - from Woolworths
(each individual tile was 4.5cm x 4.5cm)
- glue - whatever was lying around the house
(i used superglue and craft glue, but liquid
nails and any good quality glue will do).
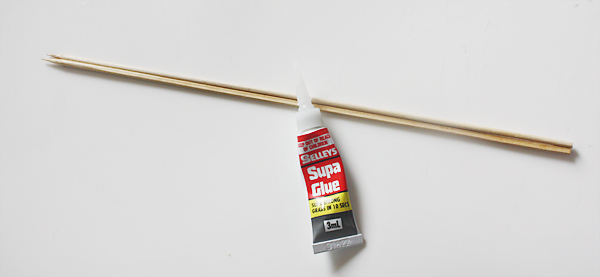
2. make your plant markers:
- take 2 skewers and glue them together (make sure hands do not get glued - this is from personal
experience), then leave to dry.
- take 2 skewers and glue them together (make sure hands do not get glued - this is from personal
experience), then leave to dry.
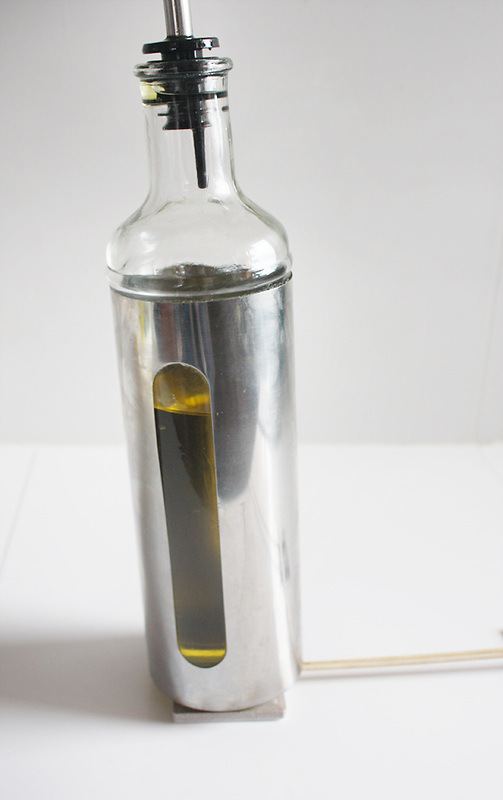
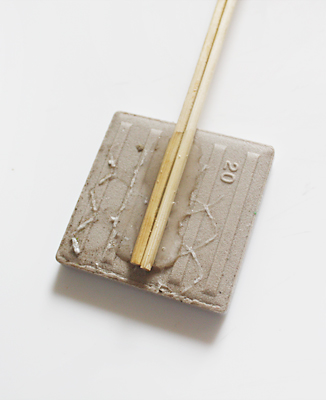
3. glue your tile on:
- get you tile and place face down on the bench.
- place some glue on the back in the middle and press your dried skewers onto the glue.
- apply a heavy paperweight on-top of the skewers to make sure it sticks firmly (yes my paper weight
was my oil pourer)
- wait for this to dry then remove paperweight and apply another layer of glue on and around
the edges of the skewer just to give it that extra support, then leave to dry.
 |  |
4. create your marker names:
- now the fun part, if you want to use your own hand writing, write down on either a sheet of paper or
in a writing app on your ipad all the names you want to make markers for...
OR
(you can just use the fonts already in the silhouette program)
- upload your names to your computer and open them up in the silhouette studio program (for
instructions on how to load your designs from paper click here, for instructions on how to do this on
your ipad click here).
- once uploaded and ready to go, make any alterations you need to (making them a tad thicker, for
instructions on how to do this click here).
- cut your contact paper to the size of your silhouette mat (make sure you keep the backing on).
- just before cutting change any cut settings you need to (once you click the cut paper icon, you will be
given a list of settings, I actually just used the cardstock option but the vinyl one would work too).
- now all you have to do is cut and wait.
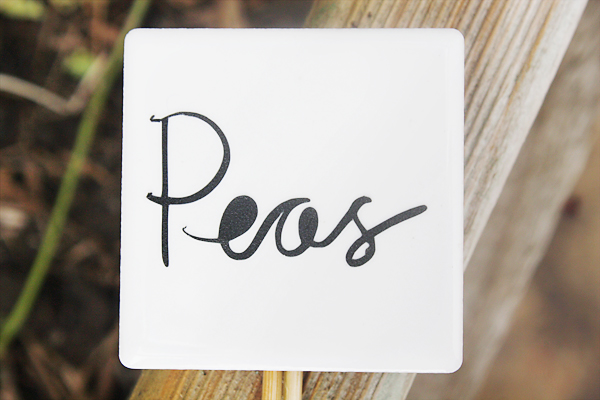
5. name your maker
- once your names are cut, remove them from the sheet, remove contact paper backing and place on
the tiles (so long as they are dry).
- if you wanted to, you could always paint the skewers the same color as the tiles for a nice finish
- once your names are cut, remove them from the sheet, remove contact paper backing and place on
the tiles (so long as they are dry).
- if you wanted to, you could always paint the skewers the same color as the tiles for a nice finish
6. plant in the garden

* will let you all know how long these last in the garden :)