| Who would have thought that you could use your ipad or iphone for that matter to create awesome designs on your silhouette machine. Well oh my goodness gracious me YOU CAN! This is a really handy tip especially if all the paper you have has somehow mysteriously vanished thanks to the efforts of little munchkins. Alrighty, lets get to it... |
THE HOW TO:
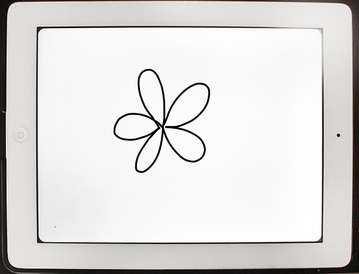
1. If you don't already, download a drawing app to your ipad/or iphone. You don't have to buy one, there are lots of free ones out there. I like to use Paper 53, it produces a little better quality than other ones that I have used.
2. Draw your design - use your finger or ipad pen, just whatever you prefer (i like to use the adonit jot mini ipad pen, it is quite expensive but it writes just like a real pen and since i do a few designs its great for what i do)
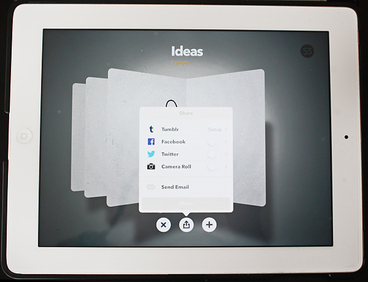
3. Next send your design to your email, there is usually a little button for this somewhere in your program.
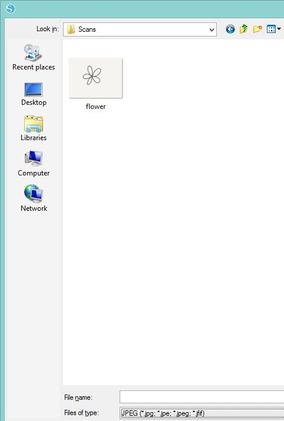
4. Open your email and save your image to you any file you like - i like to save mine to my silhouette scan folder in my window file explorer section.

5. Open your silhouette studio program and then once in, open your design up from the folder you saved it in. These were the steps i took:
Ctrl O (open file) > select silhouette folder > select scans > select JPEG files (from the bottom of the scan folder in the 'file of type' dropdown box)> select image > open.
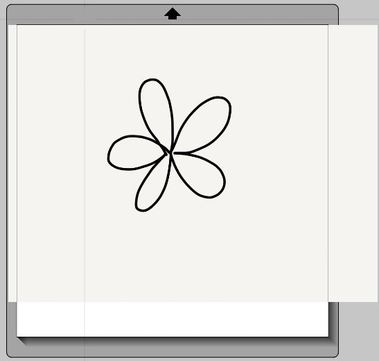
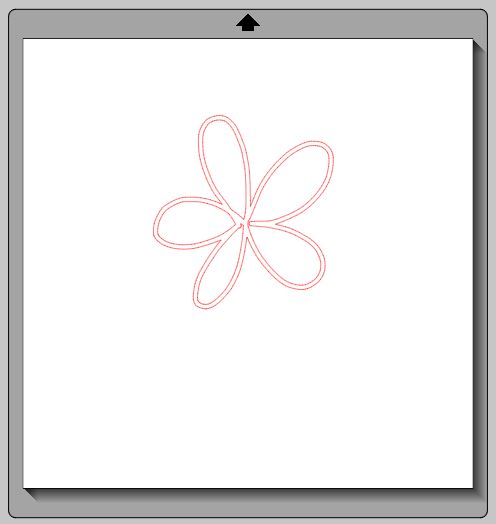
Once you do it will look something like this once you do.
Ctrl O (open file) > select silhouette folder > select scans > select JPEG files (from the bottom of the scan folder in the 'file of type' dropdown box)> select image > open.
Once you do it will look something like this once you do.
 |  |
6. Ok, now that you have your design, select it and then press the trace option.
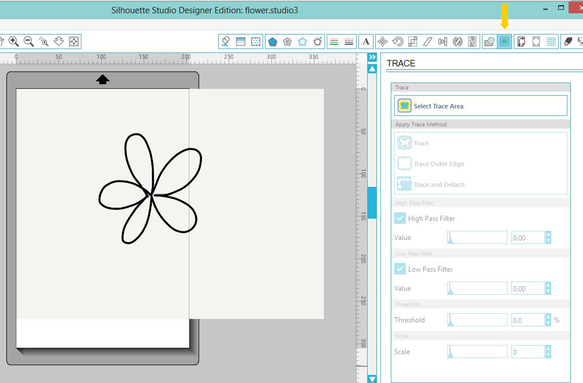
7. Next press the select trace area (first option under trace) and draw a box around the image so that every part of it is selected yellow within the trace box.
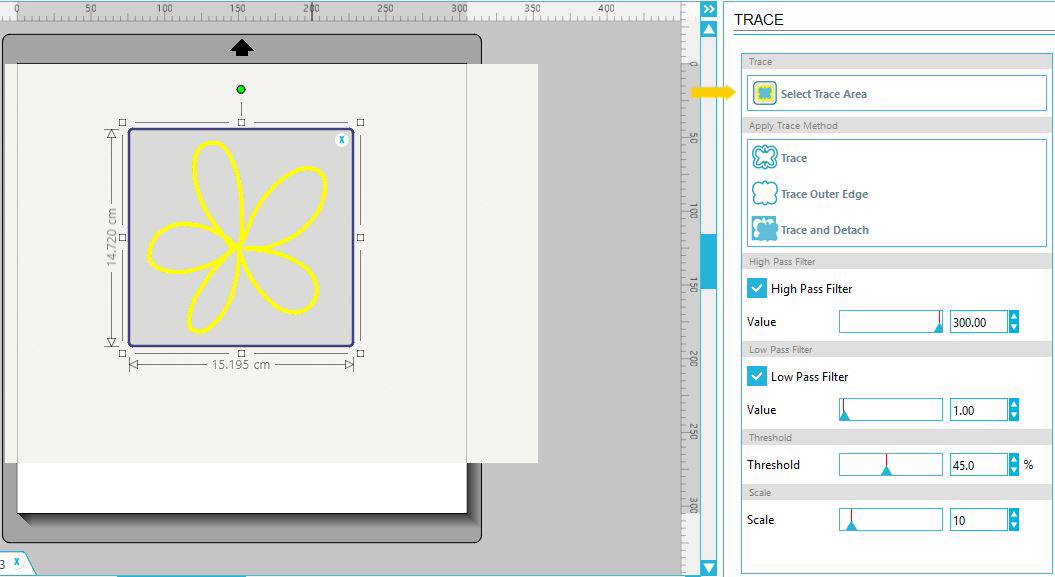
8. From the above photo you can see i then fiddled with the high pass and low pass filters until the whole image was evenly covered in yellow. (for this design I turned up the high pass filter to 300% and only had to select the low pass filter box to just get the last of the edges that weren't selected). Now press trace.

9. Select and delete the original image so you are just left with the trace you just did.
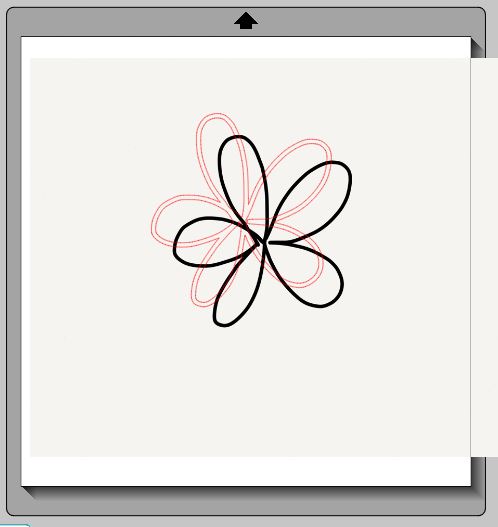 |  |
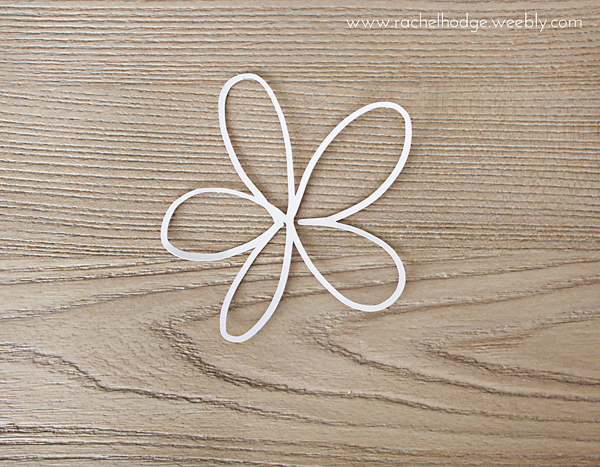
10. Now cut! And there you have it...from ipad to silhouette!